How to disable tabs in File Explorer on Windows 11?
For this tutorial, we will be using an open-source tool on GitHub called ViveTool, since there are no dedicated settings offered by Microsoft to disable Explorer tabs. ViveTool is a command-line-based utility that is often used to get a preview of experimental features on Windows. Here’s how you can use it to get rid of the tabbed File Explorer.
After the PC has booted up, you should see that the tabs on your File Explorer have been disabled. If these settings changes don’t sit right with you and you want to go back to how the File Explorer looked, you can just run the same commands as mentioned after step 7, and replace ‘/disable’ with ‘/enable’. Read: File Explorer not highlighting selected files and folders
Does Windows 11 Explorer have tabs?
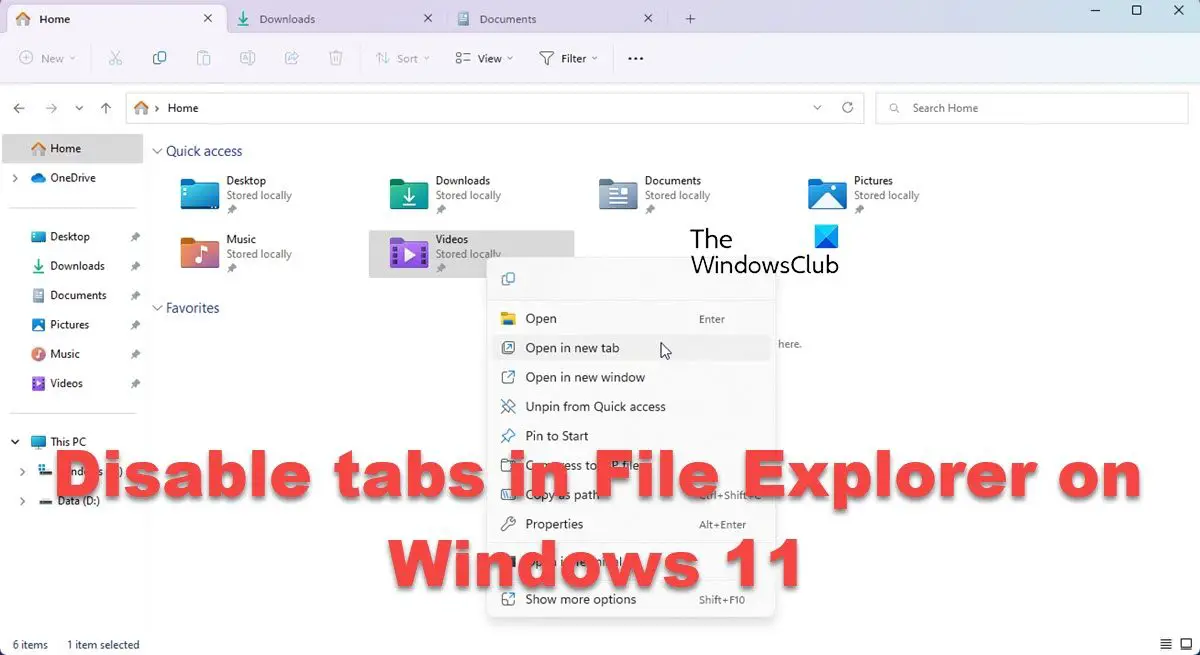
With the new 22H2 version update rolled out to Windows 11 PCs globally, we saw modifications to the Taskbar, File Explorer and several other areas. Very notable was the addition of Tabs to the File Explorer window. These tabs are meant to help users organize files properly and switch among folders with ease. These tabs are the equivalent of browser tabs for your File Explorer. With them, you can easily open multiple folders and switch between them as you do with accounts on a browser.
How do I control tabs in Windows 11?
The newly introduced File Explorer tabs are a way to improve the overall experience of using File Explorer. Since they’re the equivalent of browser tabs for File Explorer, the process of rearranging File Explorer tabs is the same as it is with browser tabs. All you have to do is right-click on the tabs at the top and drag them to the side you want to place them in. We hope that you find this helpful.