Customize Zoom Waiting Room
Participants can be holed up in a waiting room before joining a meeting. So, you can send all participants to the waiting room when joining your meeting or only guests, who do not have a Zoom account. Before you begin, you will need to enable the Waiting Room to access all the options to customize it. Go to your Zoom account. Log in and navigate to Account Management>Account Settings.
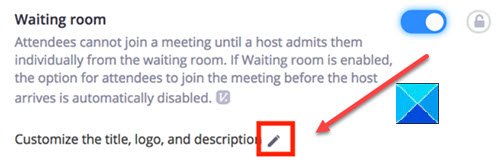
Then, under the Security section, enable the Waiting Room feature is enabled. Once done, navigate to the Security section. Choose the Edit option (seen as a pencil icon) below the Waiting Room option.
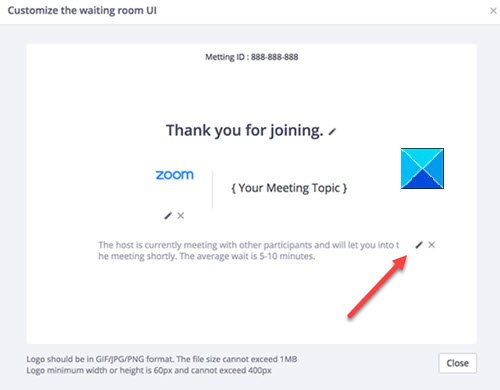
The action when confirmed will open Customize the waiting room UI window. Here, you can make the desired changes to the following.
Title – Click the Edit option (Pencil icon) to update the meeting title. Hit the checkmark when you are done. Please note that titles are limited to 64 characters.Logo – Click the pencil icon to upload a logo of your choice. It should not exceed IMB size. Permitted formats are GIF, JPG, or PNG format, and the minimum/maximum height and width supported are 60px and 400px.Description – Add a suitable description for your Zoom meeting to the Waiting Room. Click OK when you are done.
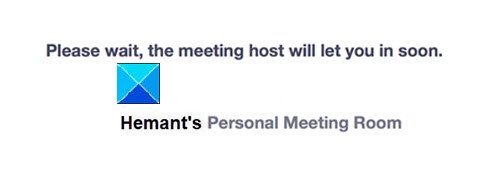
Click Close when you are done. Participants will begin to see your custom Waiting Room when they join the meeting.